Friday, May 10, 2013

Kate Spade Inspiration for under $5!


I recently fell in love with this Kate Spade Saturday top. The back made a criss cross with a little peak of your back. Just enough coverage with a little pop. Simple, but so cute. FELL.IN.LOVE.

But what to do... At $80 for the designer name, it seemed just a little bit over excessive. So I mulled over it...

AND mulled over it... AND finally bought it with extreme reserve. My idea... I will just use it as a template and get my money's worth. Yes. Perfect rationale.

Well, my wonderful mom found a McCalls Pattern JUST like it. Lucky me. The $2 dollar on sale pattern and mom's reserve fabric made this simple, fun top in just under an hour! Lunch break project, easy.

Thanks Mom for saving me $78 dollars!! What do you think? Does it look like the Kate Spade inspiration?


Kate Spade Saturday- Sexy Back Top--> Inspiration
Sew Lovely Version

Get ready to see this in many colors this summer! 


Easy, breezy summer top

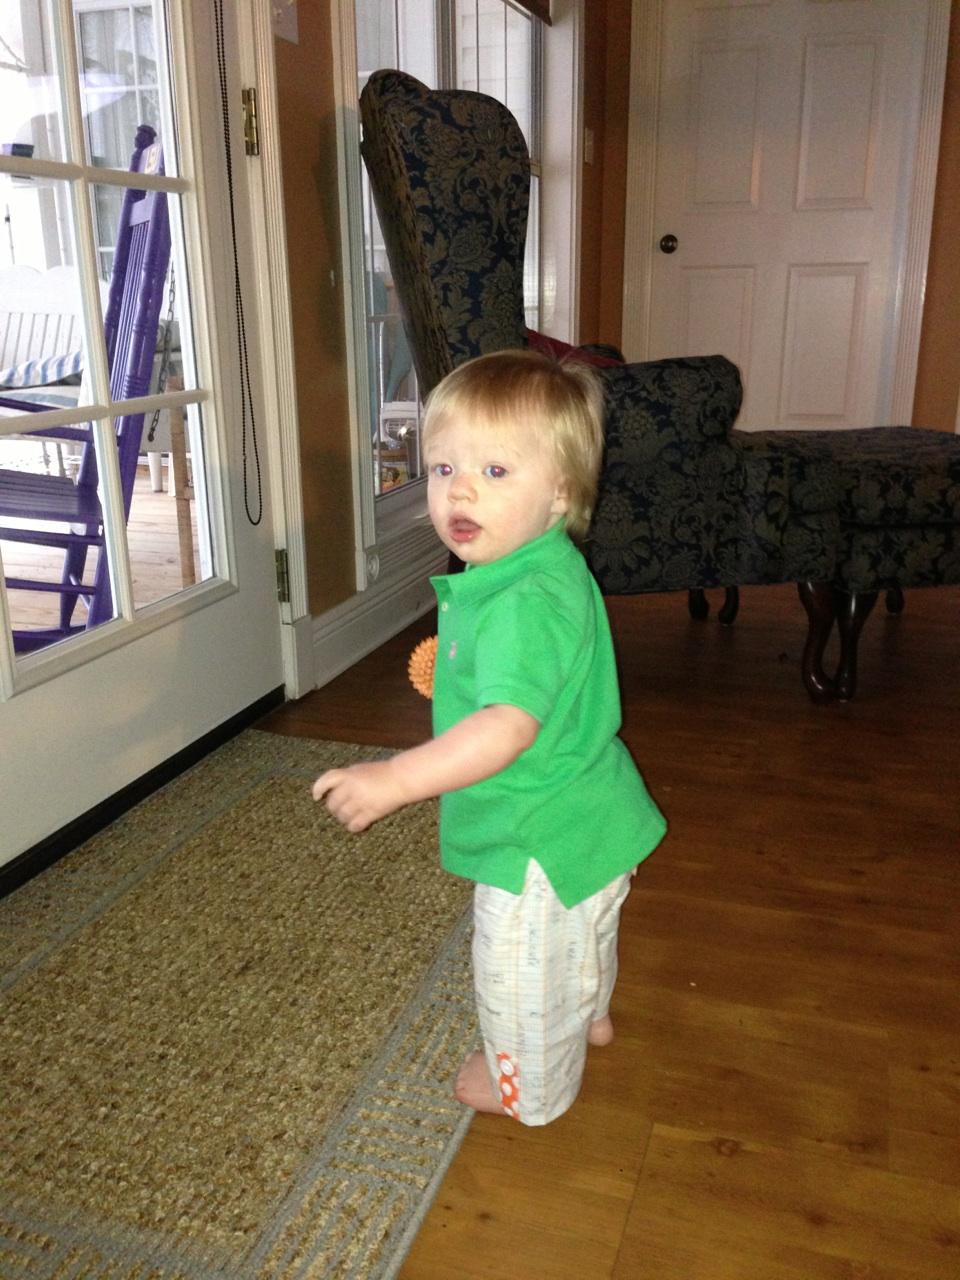
Breaker had to get in on the action! Breaker says "HI"!

Pattern Review: 
The pattern used was McCall's M6751. It is categorized as 'easy' and is just that. I cut and sewed this pattern in well under an hour. Thankfully, my mom had all the supplies I needed on hand and there were no extra trips to the store. :) Happy days. I would recommend this one ten times over and plan to make several more in different colors. Can't wait to start making the next one! 

Side note: You can see my parent's beautiful backyard in all its green glory! Take that Minnesota. ;) 

Happy Sewing! 
Jen

Wednesday, April 10, 2013

Let's Hear it for the Boys!

I have been scratching my head for awhile trying to find something to make for my sweet nephews. You see, I've only had nieces to make outfits for and now... well I have two nephews. But what do you make little boys... and then FINALLY... brownie goose patterns published the clam digger pants

OH MY GOSH! How cute are these. So, the day she published them on etsy... I bought them and that very night, Nolan had a new pair of sail boat clam digger pants. YIKES. So cute. After I figured the pattern out, I went to the fabric store to find some more boy fabric. All my flower, polka dot, paisley- girly fabric was not going to cut it for these handsome manly-man boys.

I'm still working on picking out fabric for boys, but I'm getting there... moms of boys, help me out! 

Here's what I found: 

  • Joel Dewberry- Aviary 2 - Woodgrain in bark
  • Michael Miller- House Designer - Ahoy matey - ship shape in clementine
  • Carolyn Friedlander Architextures - Ledger in Ivory
  • Dear Stella- Anchors Away - Sailboats in White


Pattern Cover

Nolan in his clam diggers
Here's Cooper! 

Something fun must be up on that night stand! 


#1 Callout: Mark the "Front" and "Back" in the inside of the fabric. This will help you once you start sewing figure out which sides to sew on. My first pair of pants, I couldn't figure out which was the back or front and ended up sewing them incorrectly. Hello seam ripper! So, take 5 seconds and mark the front and back of both. You'll thank me later, promise.

Markings of Front and Back= life saver

Finished product --> HEART

My brother, Ryan, is a civil engineer. This fabric brought back memories of him studying in our kitchen during college and spoke to his crazy math brain. I had to snag it up and make something special for Nolan with it. 

Top stitch detail


YIKES.... so cute. 

Happy Sewing,
Jen

Monday, April 8, 2013

Lei Making 101


 I sit here, 12:32AM, wide awake after only 5 hours of airplane sleeping between the last 48 hours. UGH. This time zone difference thing is killing me. My Garnier eye roller will be out in full force tomorrow for my 8:30 meeting at headquarters. OOOOEEEE.

So, as I was laying in bed willing myself to sleep, I started to reminisce about my wonderful time in Maui. I can't put into words the stunning views. Wow. They were nothing short of spectacular. Below is a pic since words expressive enough are not forming in my tired brain. Definitely, not to shabby. ;)


Of course, I had to sneak in some creative time on the trip. Lucky for me, the hotel offered free lei making classes. I had so much fun visiting with the other ladies while making my lei. Did you know that these are simply strung flowers? One long needle and a long piece of thin rope and voila: one beautiful lei coming right up!

Table of beautiful flowers ready to become a stunning necklace
My lei in the making....


A little goofy of a pic, but here's my Lei! :)
 Here are also the straps of my bathing suit that the MEAN ocean stole from me.
Minus 100 points for Jen... plus 500 for the men around.
And because I couldn't pass up adding this precious giggling face in her Aunt Jenny mermaid outfit.  This pic marks one of my favorite moments of the trip. She was just giggling for a good 30 mins and just lighting my heart on fire.  
Happy flower sewing! Aloha!
Jen

Sunday, March 31, 2013

Hawaii Bound and Mermaid Ready

In a short few hours, my second family and I will be OFF to Hawaii to celebrate Spring in true hot weather fashion. :) I honestly can't decide whether I'm more excited that it will be above 40 degrees (and more like mid-70's) or excited because its paradise. I'm so serious too. BRING ON THE HEAT. :) Southern girl happy dance is going on right now!

So, naturally, I had about 5 solid projects in mind to prepare for Hawaii. There were the flip flop fabric luggage tags I was going to make for all 5 of us. There was the maxi dress that was started and abandoned after the maxi dress turned into a TENT and patience was lost. Then I was going to refashion flip flops with grosgrain ribbon... yatta yatta. It didn't happen. What DID happen was this cutie pie. She was first on my list of projects and well... I think you can see why.
Look at those dimples! Someone is ready for Hawaii. 
Annabelle and I will be on the hunt for mermaids in her special outfit. I wonder if we squint hard and look into the ocean ever so slightly if one will appear....

This is an easy beginner project that takes 30 mins from start to finish.

  1. Grab a skirt that you already have and measure the length of the fabric. Add a 1/2 inch for the hem and a inch and a half for the waist band. Two inches total.
  2. Take that measurement and cut the salvage width. 
  3. Sew the two seams together. You now have a skirt formation. 
  4. For the hem, turn in the bottom edge and sew. I serged mine, but you can double fold it and then sew. 
  5. For the waist band, turn in 1.25 inches and sew the edge to create the casing. You will want to leave about a 2 inch opening for threading the elastic. 
  6. Measure the width of the skirt and cut the elastic based on that. Thread elastic and sew the opening closed. 
  7. Voila... 30 min skirt finished. 
Onsie
  1. Cut out the desired pattern and apply heat bond to the non-paper side. 
  2. Peel off the paper side and iron on onsie where you want it.
  3. Sew the outer edges to secure. I used a zig zag here but you could also use a straight stitch. 

Easy peasy. :) 

Peace out mermaids, I'll be in an island state of mind for the next 7 days. 

Happy sewing! 
Jen 

Monday, March 25, 2013

Easter Pretty- The Milly Dress

Guess what my friends... Easter is almost here!!! Where did the time go to. Wasn't I just home in New Orleans for Mardi Gras?! Goodness, how time flies.

Special for you, I am featuring the Milly Dress by Brownie Goose for the most important dress of the year. Easter Sunday. I have to tell, you...this one is a stunner! Stop in your tracks... so cute.

I've been in a Brownie Goose pattern fixation. Each one is very different and uniquely adorable. This one however, creates butterflies in your stomach. The lace overlay is the perfect delicate touch and the open hole back adds the 'coolness' factor to make this one sweet and sassy. How can you not fall in love!
Butterflies in the stomach
(Note: WHOOPS. I misspelled the dress name in the frame.)

Fabric Feature:
I bought this fabric literally the week it came out. I was absolutely in love from first sight. The organic fabric is super soft and creamy to the touch so much that you'll want to put it to your face immediately. To add to the touch, the colors of this fabric are so vibrant they radiate. To die for.

This design is Amy Butler's Alchemy Organic Sketchbook in Cream. I'm already feeling a void from using my entire stash... it puts a smile on my face just looking at the picture. Ah. Love.
Stunning Amy Butler Fabric 
Pattern Summary: 
  • Took about an hour and a half to complete one
  • Suggest using elastic for the button closures rather than ribbon. The ribbon is hard to button and when you have a skirmy little one, I think the elastic is a quick button up solution.
  • The construction of this dress was GENIUS. Never before have I sewn a pattern where you make the dress in a long strip and then sew the sides (pic below). This was SO much easier than sewing the top complete and then sewing the skirt complete to then attach the two (how I've typically constructed dresses). 
  • Make sure you are careful cutting and sewing the sides of the arm. When you go to sew the sides, you'll want them to match up perfectly. My first one was quite off, whereas the second one, when I was paying careful attention, was right on the money. 

Pattern pieces cut out and ready to go (different fabric combinations than dress featured) 
Elastic button loops used rather than the ribbon suggested in pattern

Waistband attached 
Waistband sewn and pressed (topsie-turvy upside down pic)

Lace ruffled and pinned; last step is to ruffle and pin the fabric (pic not taken)


The Milly Dress by Brownie Goose- Instruction Pamphlet
Happy Easter everyone! I hope this inspires you to go out and make your special someone a special dress.

Happy Sewing,
Jen


Sunday, March 17, 2013

St. Patty's Day's Chinese Lanterns

Apparently, it's March 17th.... I couldn't tell by the 6+ inches of snow still outside and the FREEZING temps. It's bitterly cold outside and I have to admit, I'm a little bitter of the warm temps down south. All the St. Patty Parade pics of short sleeves and flip flops have me very jealous. Ugh. This southern girl is craving warm temps! 

So, this St.Patrick's Day, I am all bundled up in my freshly made green reversible wrap skirt. If you remember, this is the same pattern from the LSU Game Day skirt I made back in November. I love this pattern because it's so versatile and simple. This time, I remembered to add in the extra seam allowances and it came out perfect. I did cut the skirt shorter than the LSU skirt as I wanted it to be more flirty and fun. This girl is excited to get out and show her green pride! 

Showcase fabric: Amy Butler's Lark Chinese Lanterns Grass
Inside Lining: Joann's exclusive fabric (no name)

Total Cost of materials: $18
Total Time: 2hrs

Hope everyone is having a fabulous St.Patty's Day and that the green beer is flowing!
Complete outfit, no getting pinched today! 


Felt hair pin for the added touch

Side 2- Isn't the inside just as cute as the outside. Completely different look and you would never know it! 

Fabric Bow Tie


Amy Butler Chinese Lanterns Grass
Joann's Exclusive Fabric Line (No Name)

Happy Sewing,
Jen

Wednesday, March 13, 2013

Happy St.Patty's Day!


Happy St. Patty's Day everyone! 

It's time for green! Who's excited? Two weeks ago, I made a trip to my favorite fabric store in town and picked up 5 different green fabrics for my St. Patrick's Day creations. Excessive much... YES, but I couldn't resist. 
               

First up is this cute fabric from Simply Color V and V Co. by Moda Farbics. This is their "Dotty Ombre" in lime green. How cute?! Love it. The dresses is the Lake House Dress Pattern by Brownie Goose and the romper is Summer Romper by Brownie Goose

The Lake House Dress (Pattern by Brownie Goose)

Summer Romper (Pattern by Brownie Goose)

 My niece Isla is sure to be in style this St. Patty's Day. So much that she'll have an outfit for the morning and one for the afternoon. Lucky girl. ;)

Happy sewing!
Jen